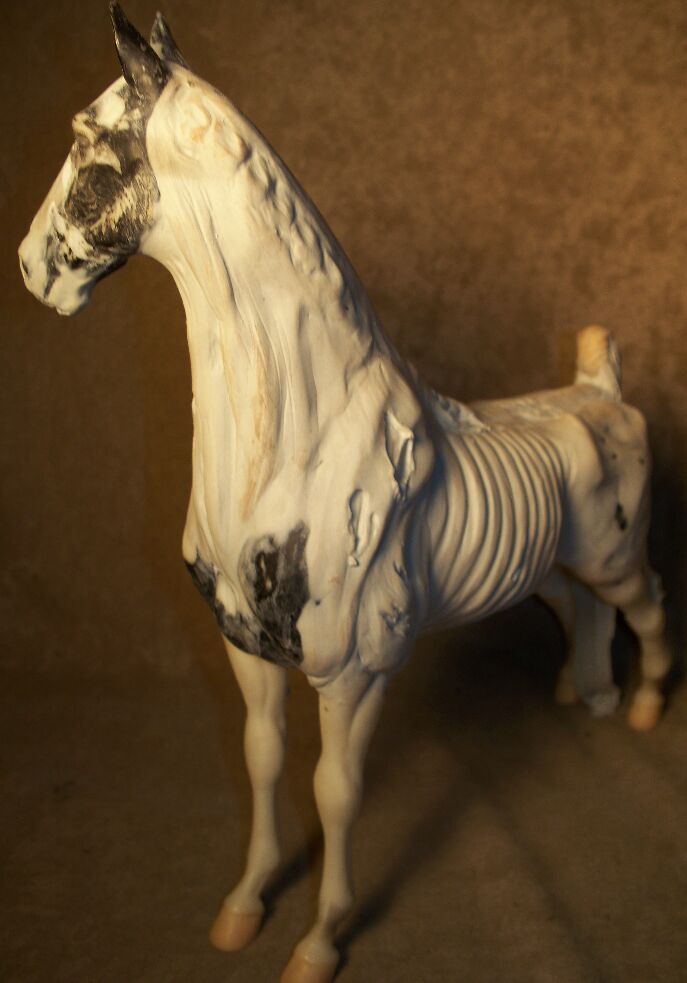
Finally, Here it is. The Hoof Painting Tutorial by Luvjeordie Studios.
Step One.
Start off with a clean white hoof.
Step Two.
Paint the hoof in a natural color. A mixture of cream and white works best. Just paint the entire hoof underside and around in a light natural cream color. It's hard to see it with the camera flash but it's light cream.
Step Three.
Now, you don't have to spray the hoof before this step. If you feel safer setting the base color for fear you'll mess up the next step then go ahead and spray it to seal in the base coat. But don't spray it after this step. You'll see what I mean later. I repeat. DO NOT Spray it immediately after this step.
What you do next is take some Burnt Umber shade pastel dust. It's a dirty beige color. Dingy is the best description of it. I prefer the Umber in the Pan Pastels brand. Earth Pigments will work just fine also. I use a light umber shade for this. Whatever the brand you use the color is going to physically be a dingy beige. Take your pastel brush and apply it loosely all over the hoof. Lightly shade the pastel dust around the hoof and just give it a simple coating. It's not going to look perfect and it doesn't have to. Don't shade it dark or attempt to really scrub it in. You don't have to. Just lightly color it so the hoof is covered in the tint. See below photos. And if you accidentally get it on the white part of the sock above the hoof, it's ok. You can retouch it up with white later. In fact you're probably going to do that anyway if you plan to have some fine hairs from the hoof gently over lapping the top of the hoof.
Step Four.
You'll notice there are a few darker smudges of the natural umber color around the hoof in places, that works to your advantage. It's all OK. It's part of the desired effect. See, you can't screw this up even if you try. Hooves are EASY. For Step 4, this is why I said DO NOT SPRAY your pastel layer. This is why. You're going to take a damp brush. A soft bristle brush. Just any brush that will not come to a total point like a liner. You don't want a liner. Instead you want a brush that when wet will fan out a wee bit on the ends. And what you're going to do first is with a slightly damp brush you're going to sweep from left to right horizontally across the pastel side walls of the hooves. You're going to just stroke it from side to side brushing lines into your pastel. You're brushing streaks into it. When you wet pastel on a surface you can drag almost a wood grain pattern into it with little to no effort. You're going to start by going left to right to do the growth rings in the horse's hoof. Go all the way around the hooves.


Now your hoof should look like these pictures below. Soft natural horizontal streaks across the hooves.
Step Five.
Now without spraying the hoof yet. Do the exact opposite. Take the damp brush and streak it vertically from top to bottom. You're now pulling the pastel color streaks downward. When you do this it's the same effect you see when you watch those canvas artists paint reflections on a lake. You go across then drag it down. Your streaks from left to right will still be intact only you're now criss crossing them and putting streaks downward on top of them so that both sideways and up & down streaks both show. You don't have to press hard. You don't have to keep going over it again and a again. Just a few simple strokes and it's done. I know this sounds crazy but hooves will practically paint themselves. You just spread the creation with the damp brush. If you wipe away too much and lose the desired effect, then let it dry and dust on some more pastel and start streaking again. A few times and you'll get the feel of what the pastel can do for you. You'll quickly be able to read the results. You'll know just how much shade to use, just how much and how firmly to streak it. Then when you get used to the technique, you can then start to expand a little creatively. You can add a little bit more light ocre yellow, or flesh, or browns to your shading and give the hooves different coloring. You can do natural hooves. Grey streaked hooves. Even when doing black hooves, sometimes you can streak the black pastel to give it a little more realism and depth. You can see faint little grown rings in the black. And it's so easy you can do a hoof in literally seconds. And if you don't believe me that it's a realistic looking hoof....look at the end result.


Now you're done with the side wall.. You can take a heavier amount of the umber pastel and slather it in the details of the bottom of the hoof and leave it, or you can wet wash that into the crevices of the bottom of the hoof also. It's up to you. It all looks accurate. Spray set the color now and you're done. Simple and it looks like you spent hours painting dozens of tiny little streaks with a fine eye-lash brush. When you're finished you can take that tiny eye lash brush and put a few white hairs from the coronet and drag them over the top of the hoof or retouch some pastel mess in the socks.

A few other tips. For those wondering "How do I do those streaked hooves with black mixed in like on an Appaloosa Horse?" Simple. When you're putting your pastel on the cream colored base coat, take a smaller brush, one that you can put a bit more pressure behind. Take some black pastel dust and literally smudge in a streak from top to bottom. Half the hoof, a quarter of it, or just smudge in some small narrow streaks and lines. Leave it. In the following step, just streak those horizontally too. The black streak stays in. Just take your damp brush and streak it left to right, then drag the streaks down. If the black isn't prominant enough, re-touch the black pastel. Just remember...you can't manipulate the pastel if you spray set it. Don't don't spray it til it's finished. Now, let's look at some more hooves close up with this technique.


For those asking about horse shoes. "How do I paint the nail marks?" You take black paint and dot the nail marks on. A row of three or a row of four marks. Some shoes have three nails on each side and some have double rows of nail marks. Some have four on each side. Three is a never fail number to use if you're not sure. Dot along the sidewall of the hoof one quarter of the way up from the bottom little black dots. Then follow that with a matching set of little silver dots on top of but not totally covering the black dots. You want to see some black paint under the silver paint acting as shadowing for the nails. You don't have to do this and on dark hooves it usually doesn't show up. You can just use a single line of dots in pure silver color. But the black gives it a contrast that almost makes it look 3D.